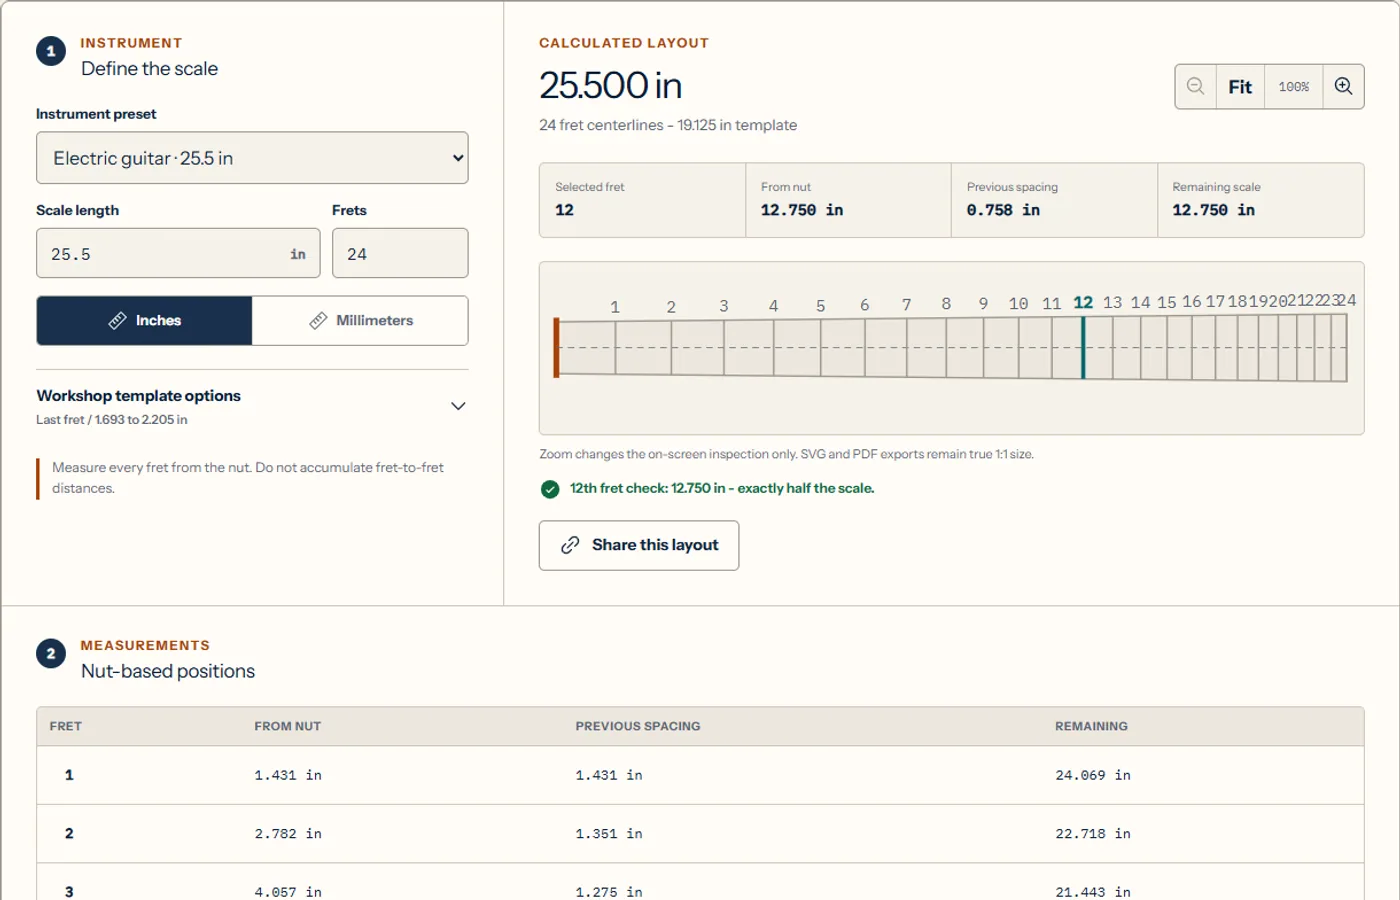
A fret position list looks authoritative because it contains precise decimals. That precision can be misleading if the scale was measured from the wrong points, inches and millimeters were mixed, or the lines were treated as slot edges instead of centers. This guide explains what a fret calculator should compute, how 12-tone equal temperament determines each position, and how to check the result before using it on an instrument. The workflow applies to standard single-scale guitars, basses, ukuleles, mandolins, and banjos. Multiscale layouts, compensation, and alternative temperaments require additional design decisions and are outside this calculation.
01
Enter the scale length, not the board length
Scale length is the vibrating length from the nut witness point to the theoretical bridge or saddle reference. It is not the total neck length, the fretboard length, or the distance to the end of the wooden board.
Choose an instrument preset only as a starting point. Confirm the actual design dimension before calculating, especially when replacing an existing board or copying an instrument whose nominal scale may have been rounded for marketing.
02
How equal-tempered fret positions are calculated
In 12-tone equal temperament, every semitone multiplies frequency by the twelfth root of two. The remaining vibrating string length therefore shrinks by the inverse of that ratio at each fret.
The direct nut-based formula avoids accumulating rounded fret-to-fret distances. Calculate every centerline from the original scale length, then derive the previous spacing by subtracting adjacent nut-based positions.
Distance from nut to fret n: dₙ = L × (1 − 2⁻ⁿ⁄¹²)
| Fret | From nut | Remaining scale |
|---|---|---|
| 1 | 1.431 in | 24.069 in |
| 5 | 6.402 in | 19.098 in |
| 7 | 8.479 in | 17.021 in |
| 12 | 12.750 in | 12.750 in |
| 24 | 19.125 in | 6.375 in |
03
Read nut position, previous spacing, and remaining scale
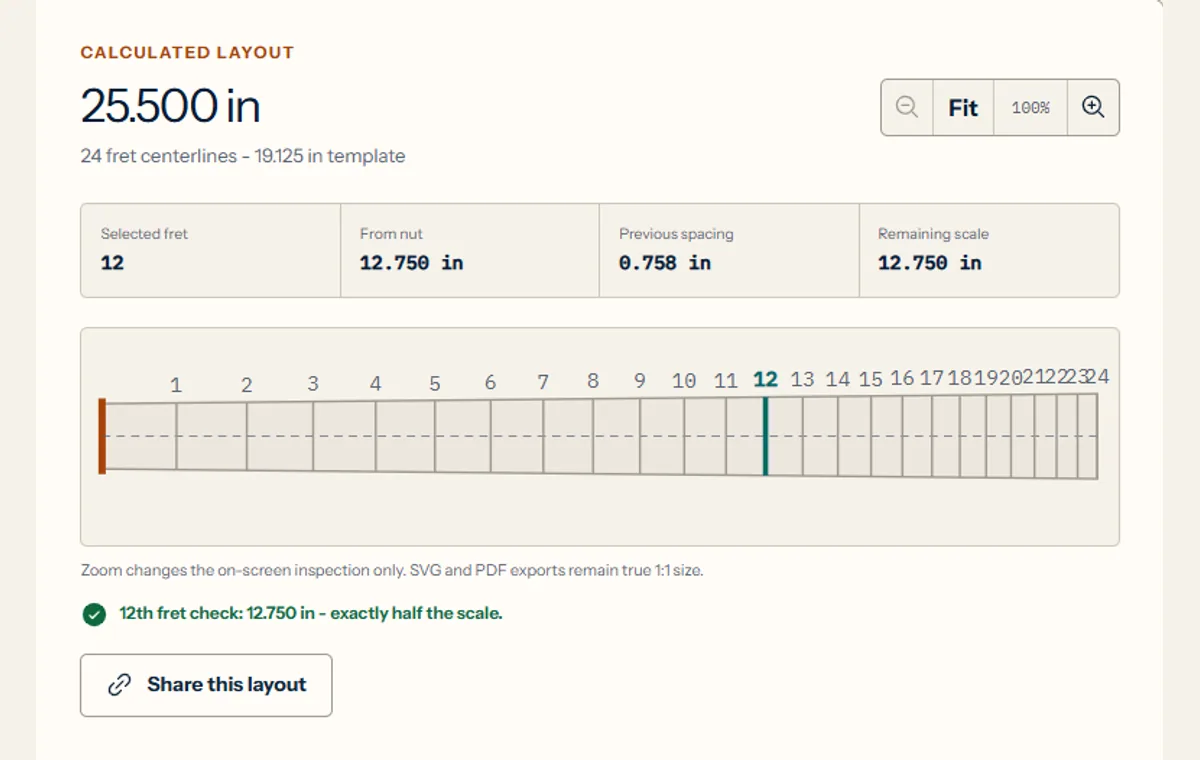
The nut-based position is the primary manufacturing value because every line shares one stable origin. Previous spacing is useful for inspection and saw setup, but it should not become a chain of rounded measurements.
Remaining scale is a useful diagnostic value. At fret 12 it must equal half the original scale, and at fret 24 it must equal one quarter. If those checkpoints fail, the input or formula is wrong.
04
Choose the right output for the job
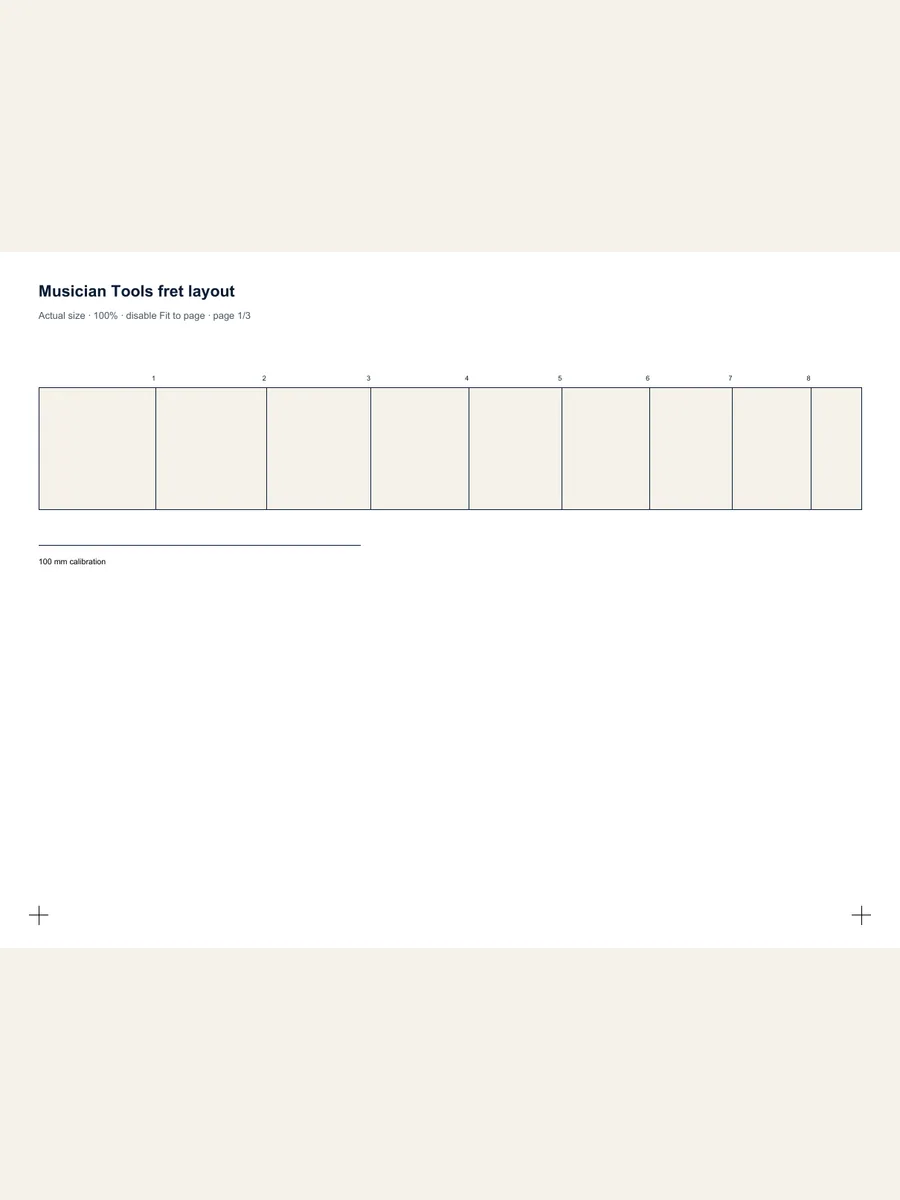
CSV is the most transparent output for reviewing numbers, importing measurements into another system, or keeping a build record. SVG preserves true vector dimensions for CAD and large-format printing. A tiled PDF makes the same geometry practical on a Letter or A4 printer.
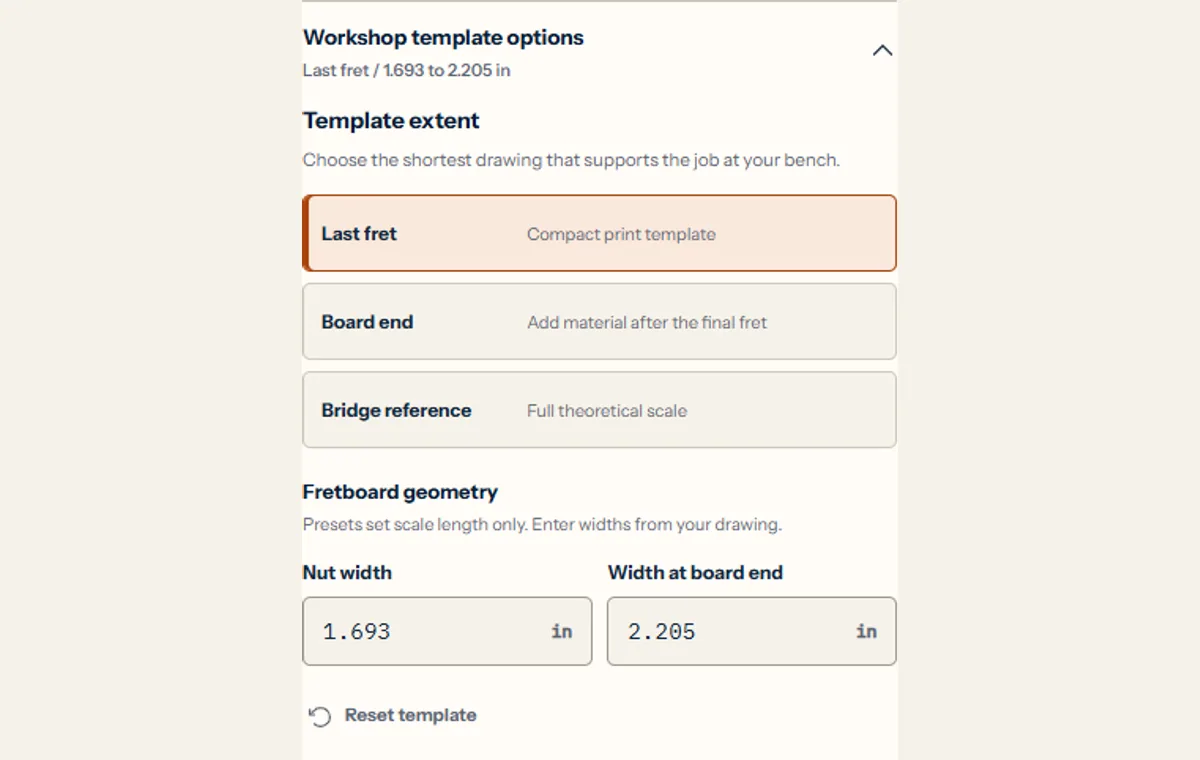
The drawing extent should match the job. Ending at the final fret keeps the template compact. Ending at the physical board includes the margin after the last slot. A theoretical bridge reference can extend the centerline without falsely extending the wooden board.
| Format | Best for | Critical check |
|---|---|---|
| CSV | Measurement review | Unit and decimal precision |
| SVG | CAD or print shop | Preserved physical dimensions |
| Tiled PDF | Home Letter/A4 printing | 100% scale and page overlap |

Calculate and export all three formats with the workshop fret layout tool using one shared geometry model.
05
Verify the calculation and the physical print
First confirm that fret 12 is exactly half the scale length from the nut. Next compare one or two positions with an independent calculation. If you print a template, measure the included 100 mm or 4 inch ruler before aligning pages.
Printing at Fit or Shrink changes every fret position. Correct the print setting and print again rather than moving individual lines to compensate for a scaled sheet.
FAQ
fret calculator FAQ
How do you calculate fret positions?
For fret n, multiply the scale length by one minus two raised to the power of negative n divided by 12. Measure each result from the nut.
Is the 12th fret always half the scale length?
In a standard 12-tone equal-tempered layout, yes. The 12th-fret centerline is exactly half the theoretical scale length from the nut.
Are fret positions measured to the center of the slot?
Yes. The calculated line is the fret or slot centerline. Saw kerf width is a separate manufacturing consideration.
Does a fret calculation include saddle compensation?
No. The fret layout uses theoretical scale length. Saddle compensation depends on the instrument, string, action, and setup.
Can the same formula be used for bass and ukulele?
Yes for standard single-scale, 12-tone equal-tempered instruments. Use the correct scale length and intended fret count for that instrument.
Next step
Keep one reference from input to finished layout
Use the nut as the stable origin, derive every fret directly from the full scale, and verify the half-scale checkpoint. When the numerical and physical outputs share the same geometry, the result stays understandable from the first calculation to the final printed template.
Sources and calculation checks
These references explain the underlying relationships. Our examples are calculation checks, not claims of physical testing or an endorsement by these publishers.
- Our formulas, rounding rules, and reproducible examples
- StewMac: nut-based fret measurements and layout guidance
Found a discrepancy? Report the formula, expected result, and steps to reproduce.