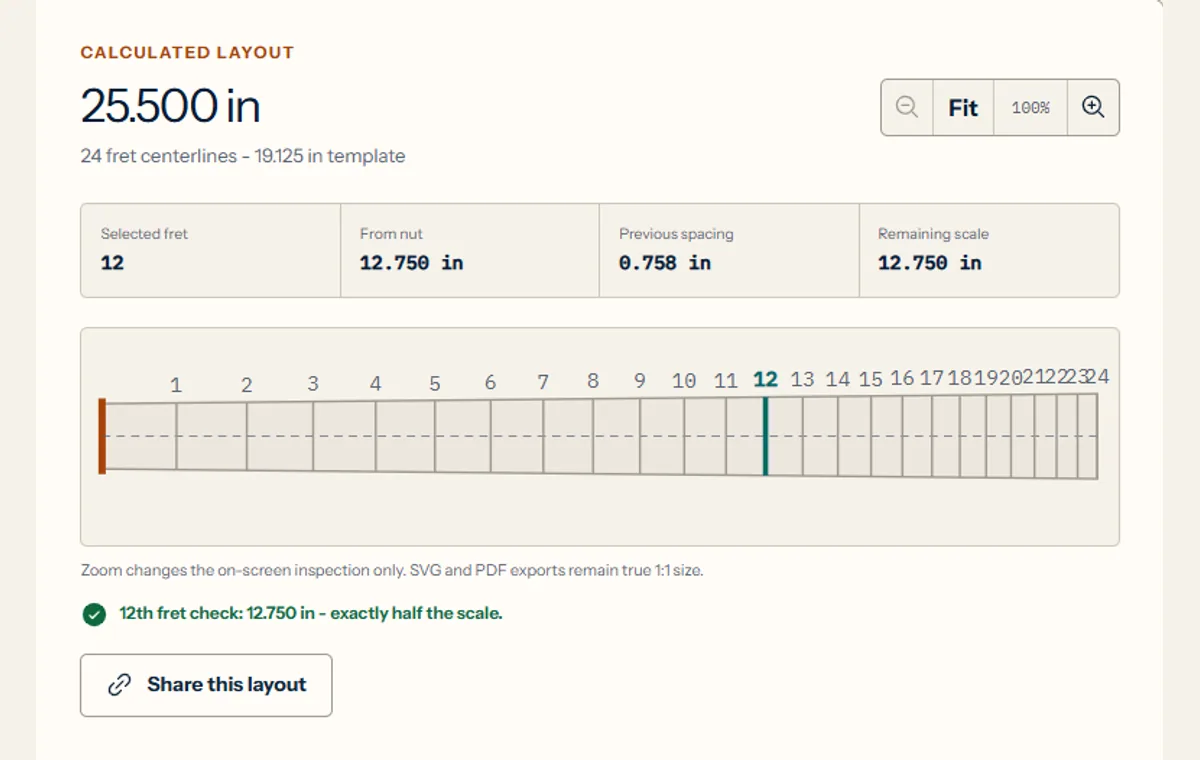
Fret spacing is often described as a sequence: measure from one fret to the next, then continue toward the bridge. That description is convenient but risky. If each rounded interval becomes the origin for the next mark, small errors accumulate across the board. A better workflow calculates every fret centerline from the nut, uses adjacent spacing only as a cross-check, and keeps the same reference through the drawing, print, and slotting stages. This guide focuses on that physical transfer process: preparing the tapered board, choosing a template extent, joining tiled pages, and verifying the result before cutting.
01
Understand the two spacing measurements
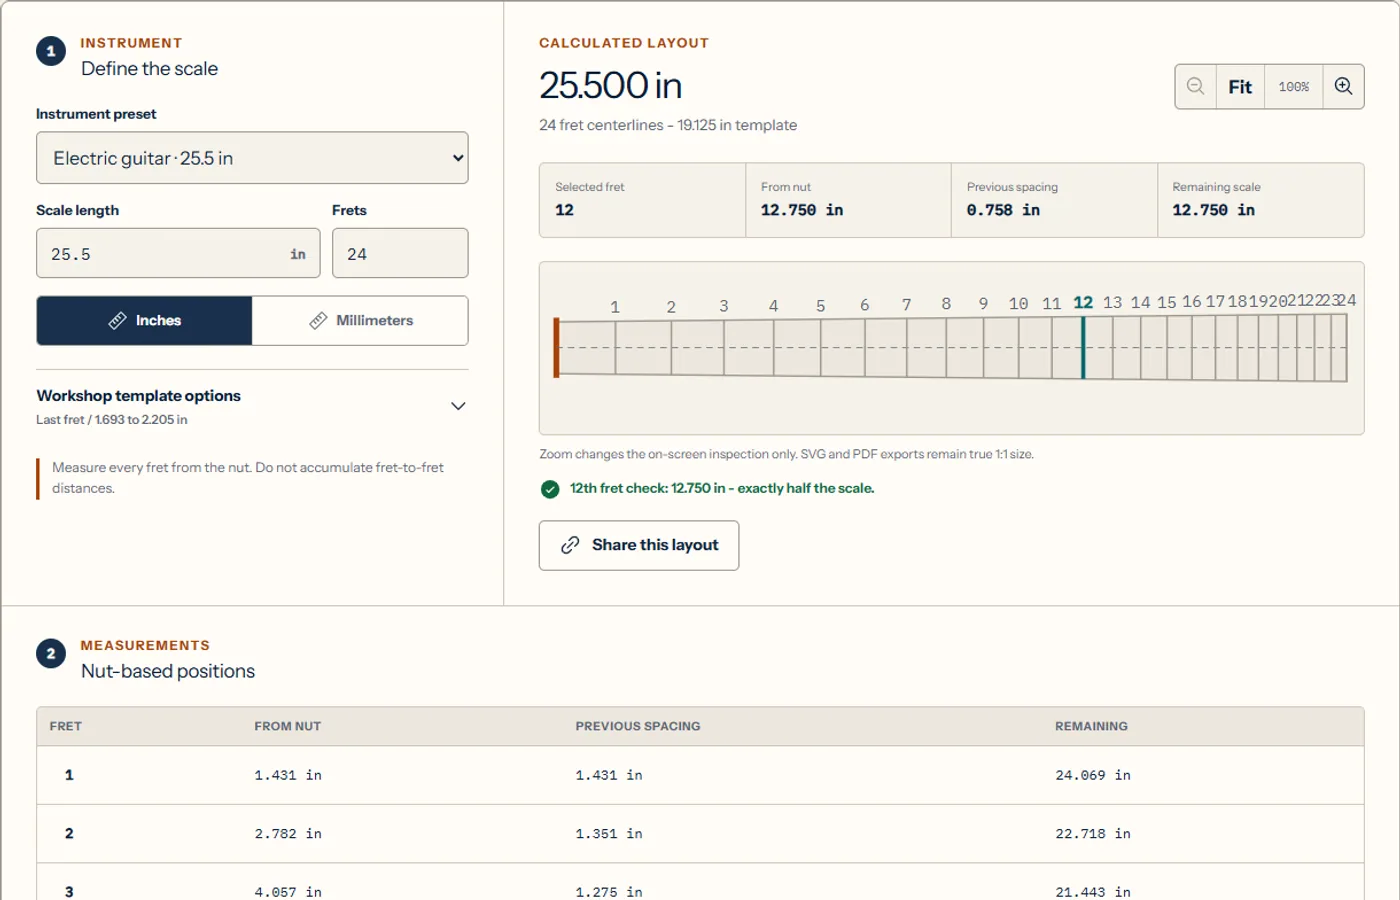
Distance from the nut tells you where each fret belongs on the scale. Previous spacing tells you the gap between adjacent fret centerlines. Both are valid results, but they serve different jobs.
Use the nut-based value for layout and verification. Use previous spacing to inspect whether the intervals shrink smoothly and to estimate the working room for a saw guide or indexing jig.
| Measurement | Reference | Workshop use |
|---|---|---|
| From nut | One fixed origin | Primary centerline placement |
| Previous spacing | Adjacent fret | Inspection and jig setup |
| Remaining scale | Fret to bridge reference | Geometry check |
02
Prevent cumulative spacing error
Suppose every adjacent interval is rounded to the nearest tenth of a millimeter, then added to the previous pencil mark. Some rounding errors cancel, but others reinforce each other. By the upper frets, the final centerline can drift even though no single step looked unreasonable.
Direct nut-based positions remove that chain. Each fret is an independent measurement from the same zero point. If one mark is wrong, it does not redefine every mark after it.
Place fret n at: L × (1 − 2⁻ⁿ⁄¹²) from the nut
03
Separate pitch geometry from board geometry
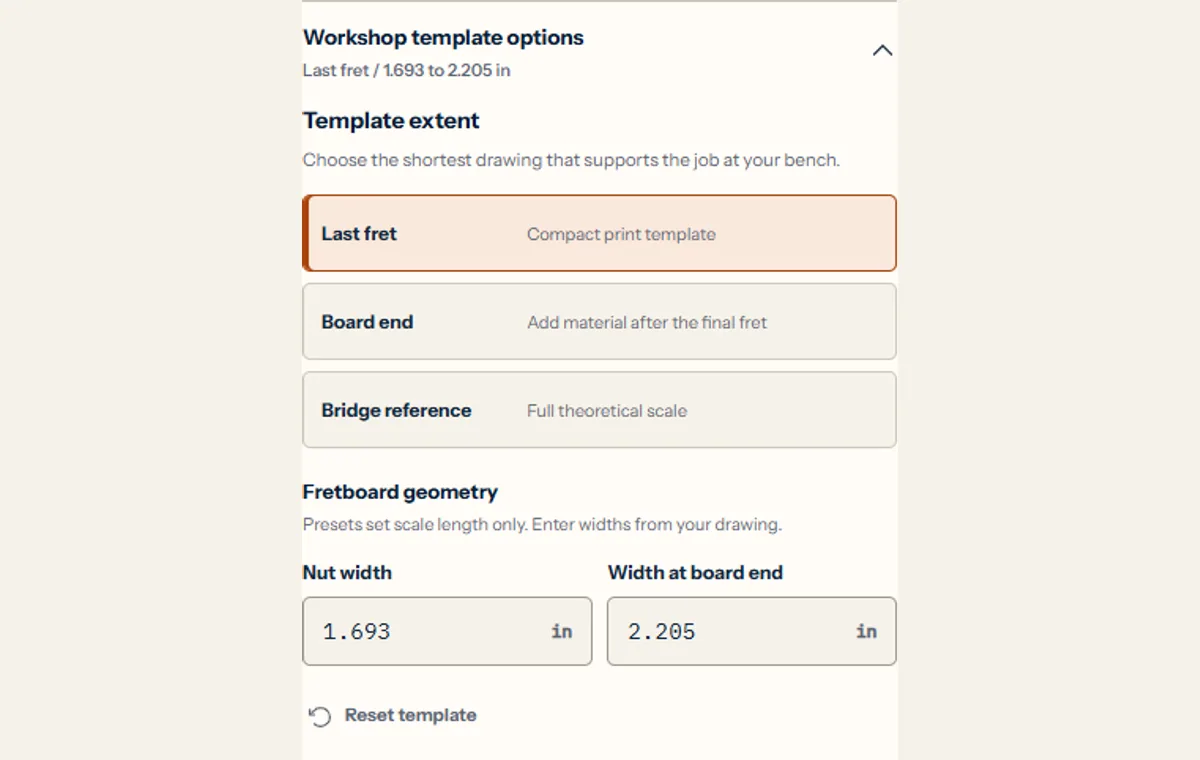
Scale length and fret number determine the centerline positions. Nut width, end width, and margin after the final fret determine the physical outline of the board. Changing the taper should not move a fret along the centerline.
Choose the template end that matches the operation. A last-fret layout is enough for a slotting reference. A board-end layout helps when shaping the blank. A bridge reference is useful for assembly checks but should not be mistaken for an extension of the fretboard itself.
04
Print and join a tiled slotting template
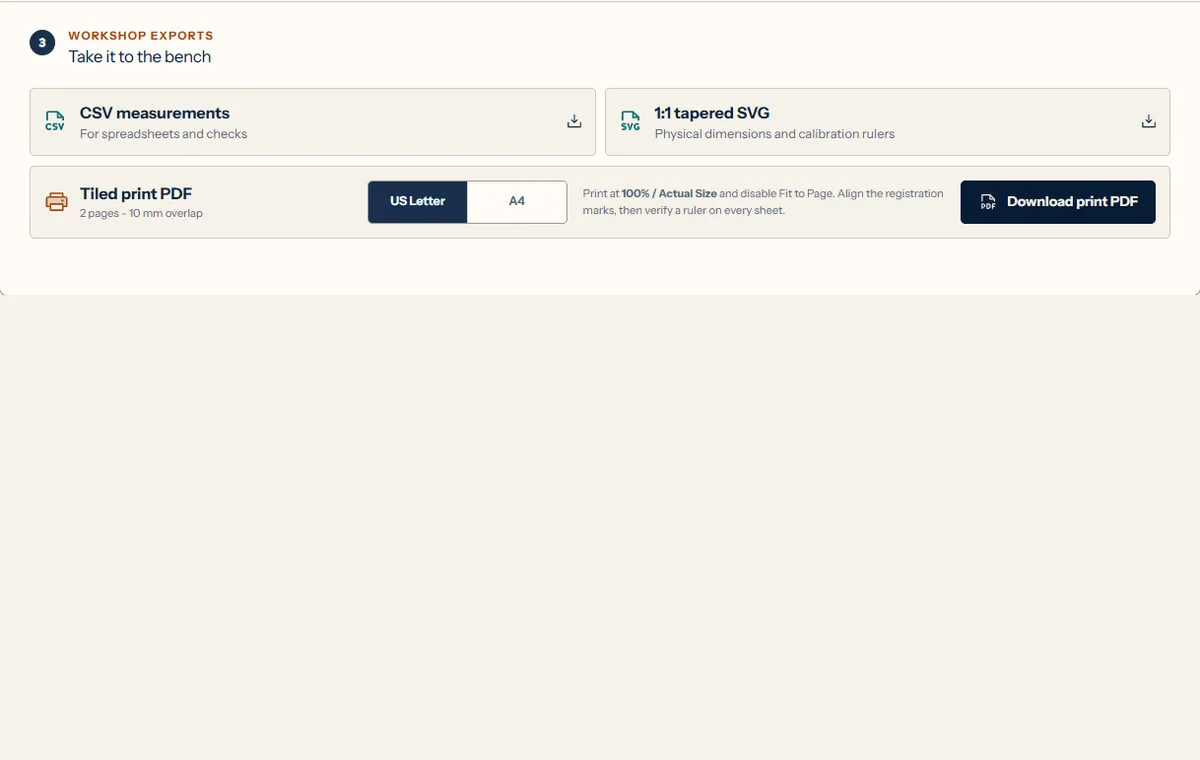
Set the PDF print dialog to Actual size or 100%. Disable Fit, Shrink, and borderless enlargement. Print one page first and measure the calibration ruler before spending time trimming and joining the full template.
Trim one side of each overlap and align the printed registration marks, centerline, and board outline. Paper edges are not reliable registration surfaces because printer margins vary between devices and even between feed trays.
| Check | Accept when | Reject when |
|---|---|---|
| Calibration ruler | Measures exact length | Any scaling is visible |
| Overlap marks | Crosshairs coincide | Marks form a doubled edge |
| Centerline | Continuous across join | Line steps or changes angle |
| Fret line | Square to centerline | Join introduces skew |
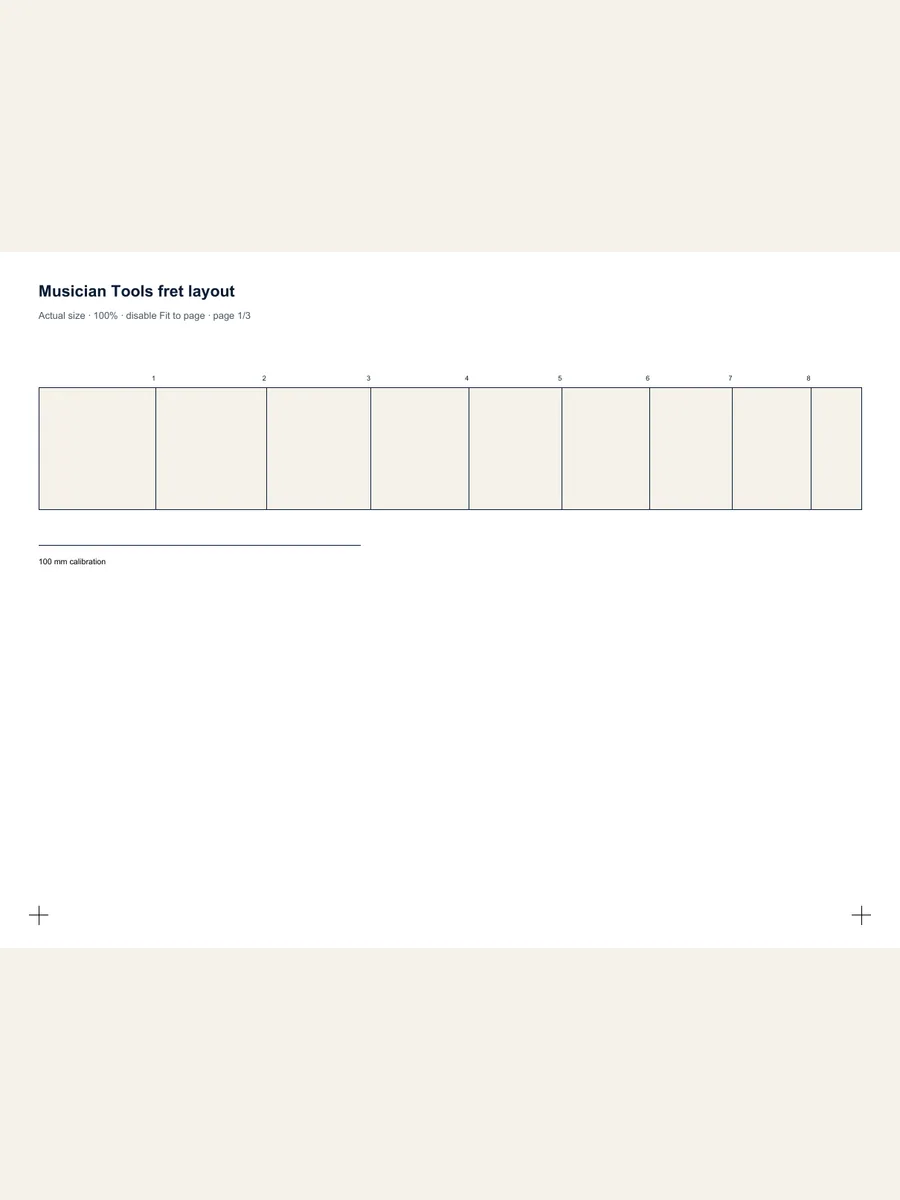
For a complete print workflow, also read the full-scale fret template guide and verify the calibration ruler before cutting.
05
Transfer the centerlines to the workpiece
Secure the verified template so it cannot creep while marking. A light knife line can be more precise than a wide pencil mark, but the marking method must suit the finish and material. Treat every printed line as the intended slot center.
Before cutting, compare the physical nut-to-12th-fret distance with half the scale length and inspect the final-fret position. These two checks catch most unit, scale, and print errors while the work is still reversible.
FAQ
fret spacing calculator FAQ
Should I measure each fret from the previous fret?
Use adjacent spacing as a check, but place every fret from the nut. This prevents rounded intervals from accumulating into a larger final error.
Why does fret spacing get smaller?
Each semitone shortens the remaining vibrating string length by the same ratio, so the absolute distance between fret centerlines decreases toward the bridge.
Does board taper change fret spacing?
No. Taper changes the length of each drawn fret line across the board, but the centerline position along the scale remains the same.
How accurate should fret spacing measurements be?
Keep full precision in the calculation, then use a marking and cutting method appropriate to the instrument. Avoid claiming precision finer than the physical tools can reproduce.
Can I print a fret spacing template on a home printer?
Yes, with a tiled PDF. Print at 100%, verify the calibration ruler, and align registration marks rather than paper edges.
Next step
Use spacing to inspect and the nut to locate
The safest layout keeps one origin from calculation to cutting. Place every centerline from the nut, use adjacent spacing to check the shrinking pattern, and verify the printed scale before transferring it to the board. That workflow contains individual marking errors instead of allowing them to travel down the entire instrument.
Sources and calculation checks
These references explain the underlying relationships. Our examples are calculation checks, not claims of physical testing or an endorsement by these publishers.
- Our formulas, rounding rules, and reproducible examples
- StewMac: nut-based fret measurements and layout guidance
Found a discrepancy? Report the formula, expected result, and steps to reproduce.